Grab your own back to school kit for FREE:
The excitement of back to school time was always one of my favorites as a kid. Filling a new backpack with fresh supplies offered the promise of a bright fun filled year ahead. I LOVED school. I couldn’t wait to put on my “first day of school” outfit and go see who was in my class that year. I know that’s not the case with all kids, but for my kiddos I want them to feel that same magic and excitement when a new school year approaches. But I didn’t know how! There were so many ideas scattered across the internet, but things didn’t match and I didn’t know where to begin. As I talked to my friends they all felt the same way, OVERWHELMED! That’s when I knew I needed to create something! Our August Celebration Circle Kit is full of absolutely everything you could need to make lasting back to school traditions, excitement and memories!
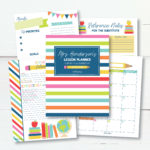
Here’s the full list of everything that’s included:
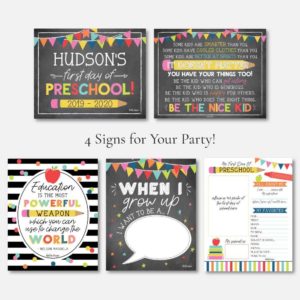
- Back To School Sign
- Back To School Interview
- Teacher Interview
- Blank Letter
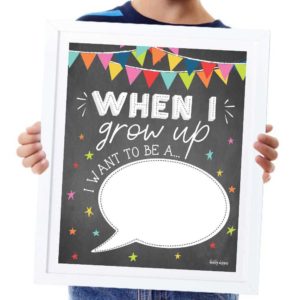
- When I Grow Up I Want To Be… Sign
- Quote Sign
- Large Quote Sign/Backdrop
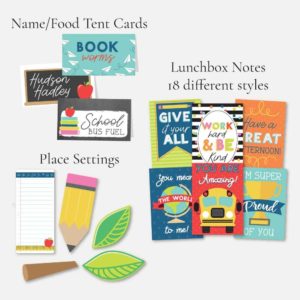
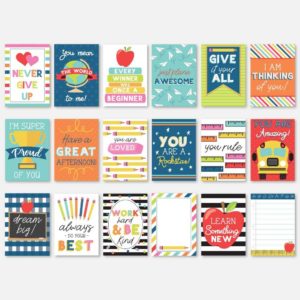
- Lunchbox Notes (18 versions!!)
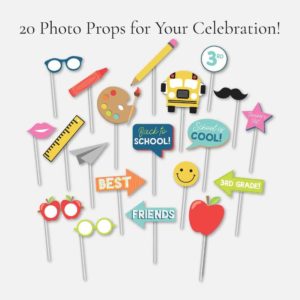
- Photo booth props (20 total!)
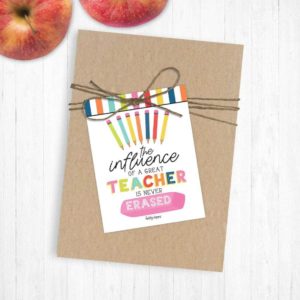
- Teacher Gift Tags (2 versions!)
- Parent Gift Tags (2 versions!)
- Name Labels
- Bookmarks
- Place Setting
- Name/Food Tent Cards
- Back To School Banner
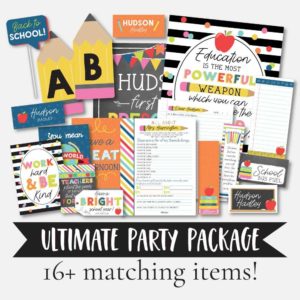
I know, SO MANY AWESOME PRINTABLES!! Let me break them down for you!
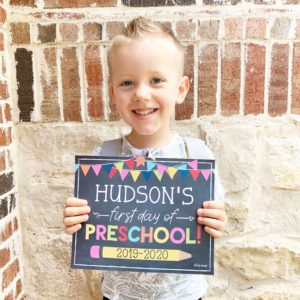
1. Back to school sign: The perfect sign to snap that classic “first day of school” picture you’ll cherish for years to come.
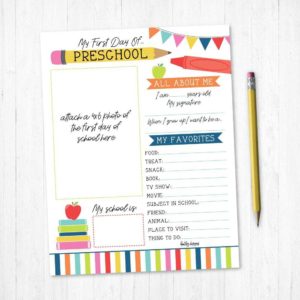
2. Back to school interview: A fun sheet to stick on that picture mentioned above and have your child fill out a sheet all about them to look back on and see how they change.
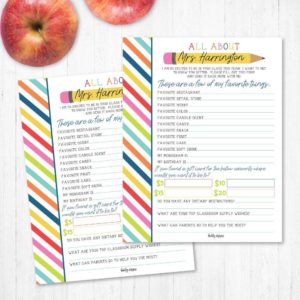
3. Teacher Interview: Similar to #2 BUT this one is for your teacher to fill out! It’s a great way to get to know your child’s new teacher as well as know their interests and favorites (great for gift ideas in the future!).
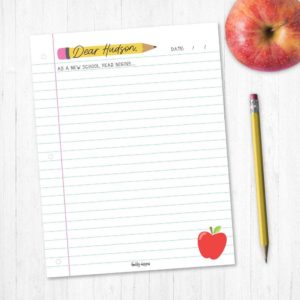
4. Blank Letter: This sheet is for you to write a letter to your child helping them kick off the new school year. Let them know how loved they are and what an incredible person they are! It will be a cherished gift for them.
5. When I grow up I want to be… Sign: Have your child fill this out and snap a photo or scrapbook it!
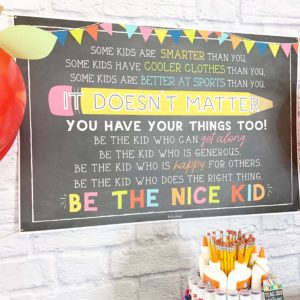
6. Quote Sign: The perfect quote to get your home in the vibe for back to school!
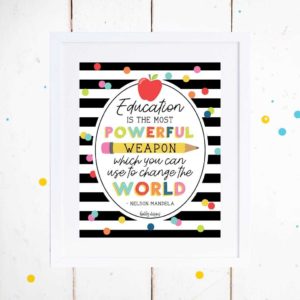
7. Large Quote Sign/Backdrop: This one is the PERFECT backdrop. Send your kiddos off with some inspiration!
8. Lunchbox Notes: Add these cute notes to your kiddos lunch for weeks to come to let them know you’re thinking of them and to cheer them on!
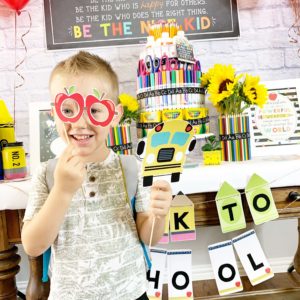
9. Photo Booth Props: I’m pretty sure next to only Christmas and Birthdays that the first day of school is the most photographed day of the year. Let’s make it fun and choose from over 20 CUSTOMIZABLE photo props!
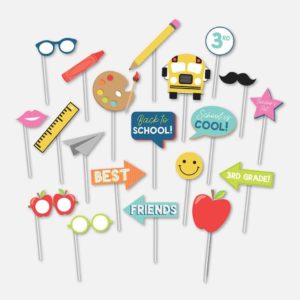
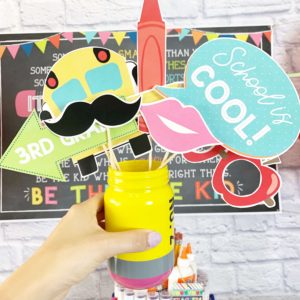
10. Teacher Gift Tags: Choose from two designs to send along with a gift to your child’s school or teacher (see my super fun idea below!!)
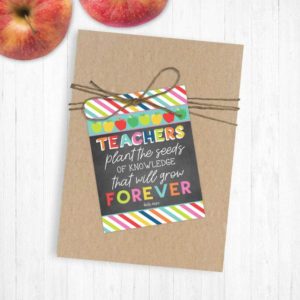
11. Parent Gift Tags: Choose from two designs to tie onto a sweet little goody bag for your kids!
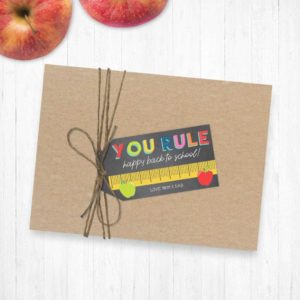
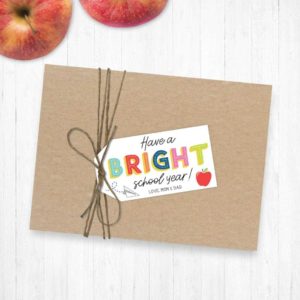
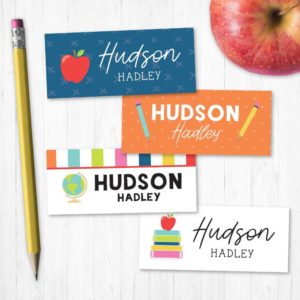
12. Name Labels: These labels are perfect to make sure all of your kiddos new school supplies avoid getting lost. Print these cuties on Avery’s Labels and you will be good to go!
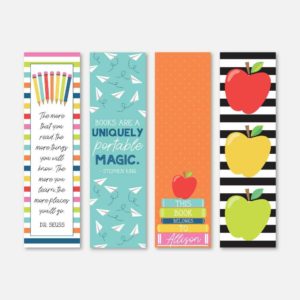
13. Bookmarks: With a new school year comes new books and new reading goals! Jazz it up with these fun bookmarks!
14. Place Setting: Growing up my mama always made a delicious breakfast for the first day of school. Take that to the next level (VERY easily) with this quick and easy DIY!
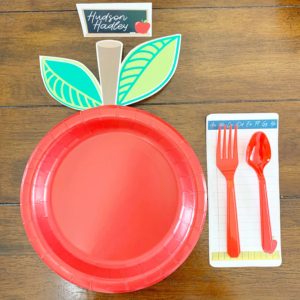
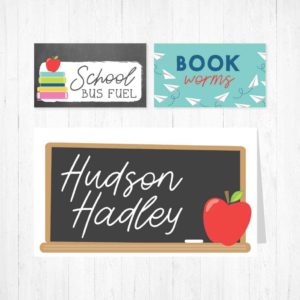
15. Name/Food Tent Cards: Use them along with your place settings mentioned above or to label items!
16. Back To School Banner: Cuteness overload! Print, cut and hang up this guy and get your kids excited for the school year to begin! Never print your own banner before and not sure where to begin? I promise it is SO easy! Hop over to my tutorial page for a step by step process!
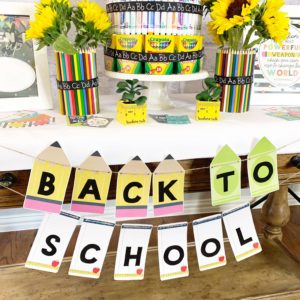
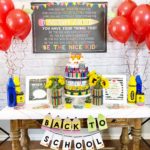
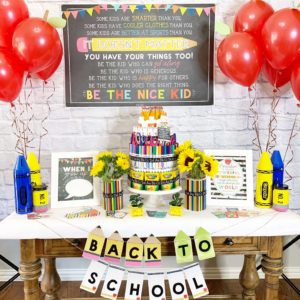
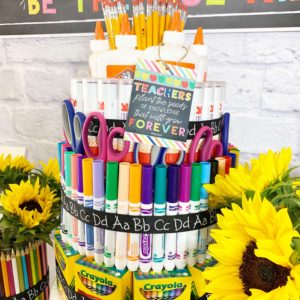
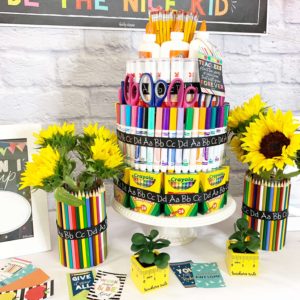
I wanted to make the days leading up to school to feel like more of a party (Because hello, any reason to celebrate I’m down to party!) for my kids so I set up a fun little table with some quick and easy DIY decor! I created a teacher supply cake to donate to Hudson’s school, a few simple colored pencil vases and the cutest and EASIEST apple balloons. My kids had a ball when they saw all the fun decor! They loved it so much I wanted to share each one with you! Check out the step by step supplies and instructions below!
Teacher Supplies Cake
Supplies needed:
- 10-12 boxes Crayola 24 ct crayons
- 50 Crayola Classic Markers
- 28 Standard Size Glue Sticks (0.77 oz)
- 12 Pairs Kid Scissors
- 50 Standard Pencils
- 6 Bottles Elmers Glue (7.625 oz bottles)
- Alphabet Celebrate Ribbon (Michaels is the only place I know of that has this!)
- Glue/Glue Gun/Sticky Tack/Double Sided Tape
- One pack of round paper mache boxes (sizes 6, 8 & 10 inches)
- Rubber Bands
- 1 Small Plastic Cup (9 oz)
STEPS:
Step 1: The Base
Use your glue gun or sticky tack to stack and secure the 3 paper mache boxes on top of one another to build your tower largest to smallest leaving the top layer’s lid off.
Step 2: The Bottom Layer
Start off with the bottom layer of the “cake!” Grab your crayons and tape down the back flap (the flap used to hang them up at the store) of each box and using double sided tape, adhere the boxes along the bottom 10” box. Once all the boxes are in place put a rubber band around them for extra security. Grab your ABC ribbon, measure how much you need to go around the bottom layer (and cover the rubber band!). Cut and then either glue or tape into place.
Step 3: The middle Layer
Follow those same steps but instead of using the crayons, line up your markers! I put a rubber band around the middle box first and slid the markers in one by one underneath the rubberband. This held them tightly enough but for extra security cover the middle box in double sided tape before lining up the markers. Measure out your ribbon and secure it into place!
Step 4: The Top Layer
Follow those same steps but instead of using the markers, line up your glue sticks! I put a rubber band around the middle box first and slid the glue sticks in one by one underneath the rubberband. This held them tightly enough but for extra security cover the middle box in double sided tape before lining up the glue sticks. Measure out your ribbon and secure it into place!
Step 5: The VERY Top
Inside of your top box (remember, you kept the top lid off!) line up your glue bottles along the inside edges, set your paper cup inside in the middle and fill it with pencils!
Step 6: The Scissors
Open up your scissors and slide them in behind your markers going across the whole cake. There should be just enough room to add them in but if you feel like you have too much space anywhere simply just tuck a plastic grocery bag in to fill the space!
Step 7: The Gift Tag
Cut out your Hadley Designs gift tag and tie it on to one of the glue bottles with some twine.
Hazah that’s it! Super simple and a great donation to your local school all while being a GREAT centerpiece for your back to school party! I made ours a little early and Hudson has been so excited to give it to his new teacher!
*Instead of using a rubber band to hold your supplies into place you can use a stronger form of glue or a hot glue gun but in hopes of best preserving the supplies to actually be used afterwards and not ruined I chose to use a rubber band and it worked GREAT!
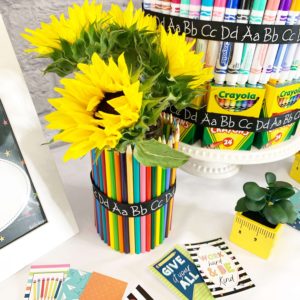
Color Pencil Vase
Supplies Needed:
- 50 Colored Pencils
- 1 Rubber Band
- Adhesive Tape
- 1 Mason Jar
STEPS:
Step 1:
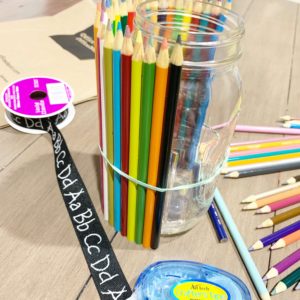
Pull a rubber band around your mason jar or vase.
Step 2:
Slide your colored pencils in one by one underneath the rubberband along the entire outside of the mason jar or vase.
Step 3:
Grab your ABC ribbon, measure how much you need to go around the bottom layer (and cover the rubber band!). Cut and then either glue or tape into place.
Step 4:
Fill your jar or vase with water and flowers and enjoy!
*Instead of using a rubber band to hold your supplies into place you can use a stronger form of glue or a hot glue gun but in hopes of best preserving the supplies to actually be used afterwards and not ruined I chose to use a rubber band and it worked GREAT!
Apple Balloons
Supplies Needed:
- Red Balloons (filled with helium)
- Thin brown and green colored paper
- Tape
STEPS:
Step 1:
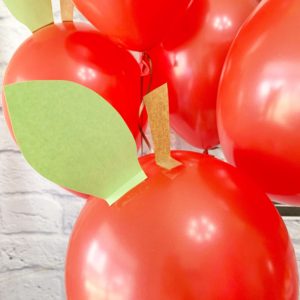
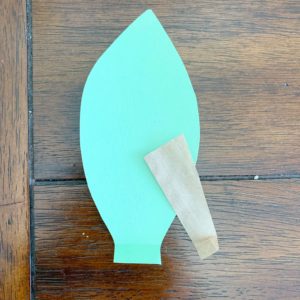
Cut out enough leaves and stems for each balloon. It’s important to use as thin and light paper as possible so it doesn’t weigh down your balloons. For example, for the stem I actually used brown paper from a brown paper lunch bag!
Step 2:
Fold down a ¼ inch flap on the bottom of each leaf and stem.
Step 3:
Tape them to the top of each balloon at varying angles!
Apple Place Setting
Supplies Needed:
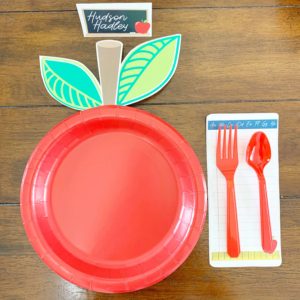
- Hadley Designs Place Settings Printable
- Hadley Designs Place Cards Printable
- Red Paper Plates
- Red Plastic Silverware
- Tape
STEPS:
Step 1:
Cut out your Hadley Designs printables
Step 2:
Tape the stem and leaves to the top of the red plate and set everything in place!
That’s literally it!
Tired of reading and just want to get celebrating?! Grab you back to school kit here:
And hey! If you need ANY help along the way feel free to pop into our facebook group https://www.facebook.com/groups/celebratingmadeeasy/ for questions and advice. We have a community of fellow mamas, myself and my team ready to help YOU and your family create memories to last a lifetime!
